> For the complete documentation index, see [llms.txt](https://nxp.gitbook.io/mr-b3rb/llms.txt). Markdown versions of documentation pages are available by appending `.md` to page URLs; this page is available as [Markdown](https://nxp.gitbook.io/mr-b3rb/preproduction-nxp-mr-b3rb-buggy3-revb/hardware/mr-b3rb-mechanical-assembly-guide/step-2-mounting-the-boards-to-the-metal-frame/step-2c-mounting-lidar-and-standoff-for-lidar-arch-stability.md).

# Step 2c: Mounting LIDAR and Standoff for LIDAR arch stability

{% hint style="danger" %}
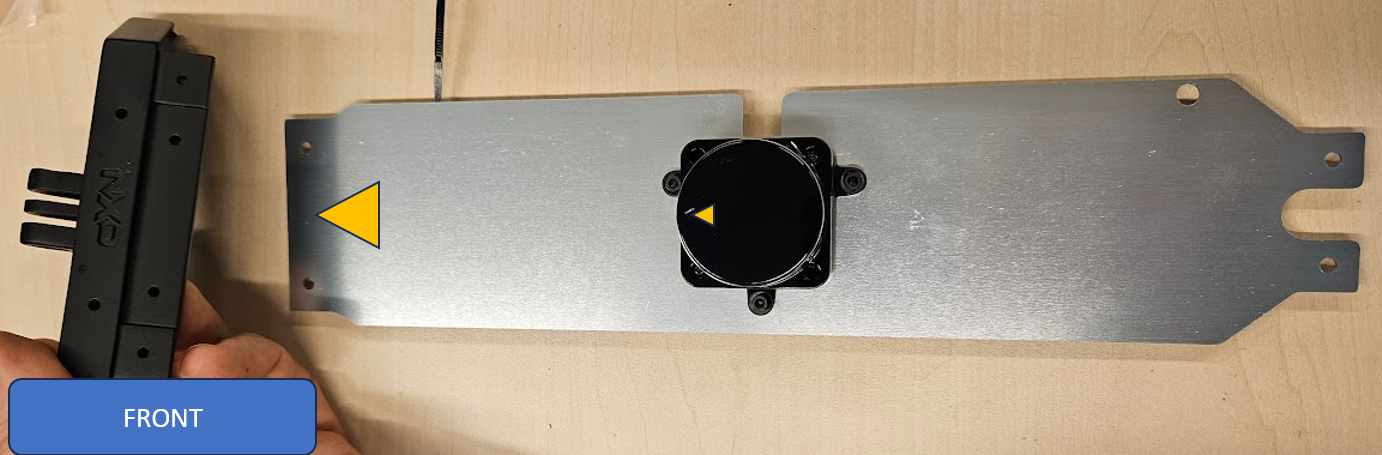
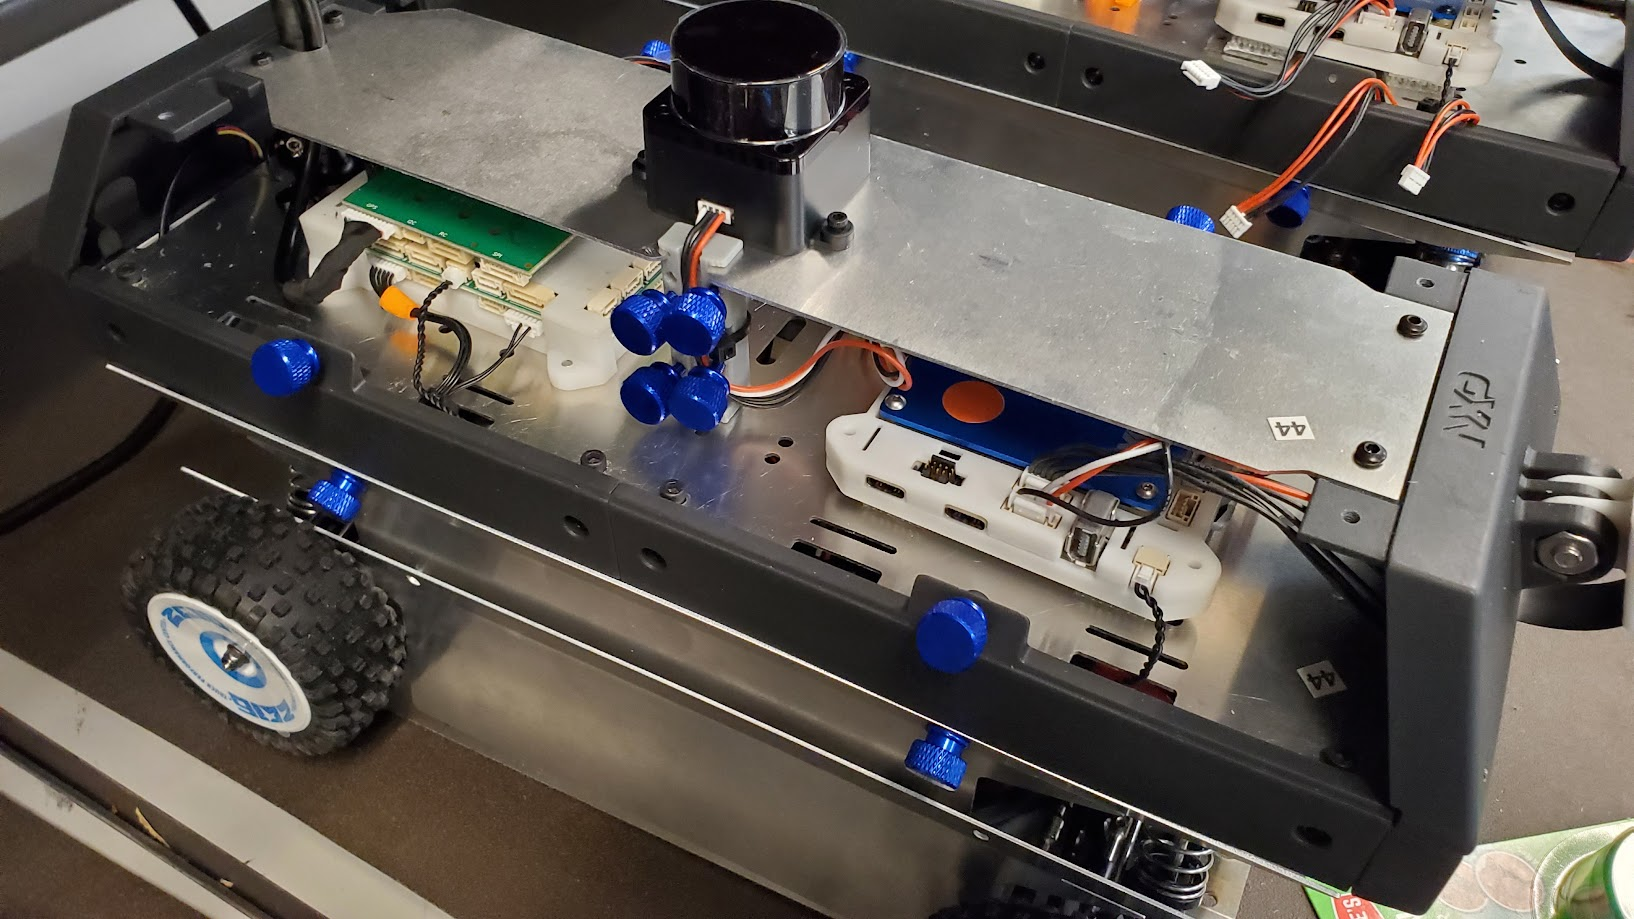
Ensure the metal top arch is oriented the correct way up and the Lidar is mounted facing the front. A common mistake is for the top arch to be flipped upside down, resulting in the LIDAR facing the back. Check the direction of the LIDAR by looking at the arrow on top.&#x20;
{% endhint %}

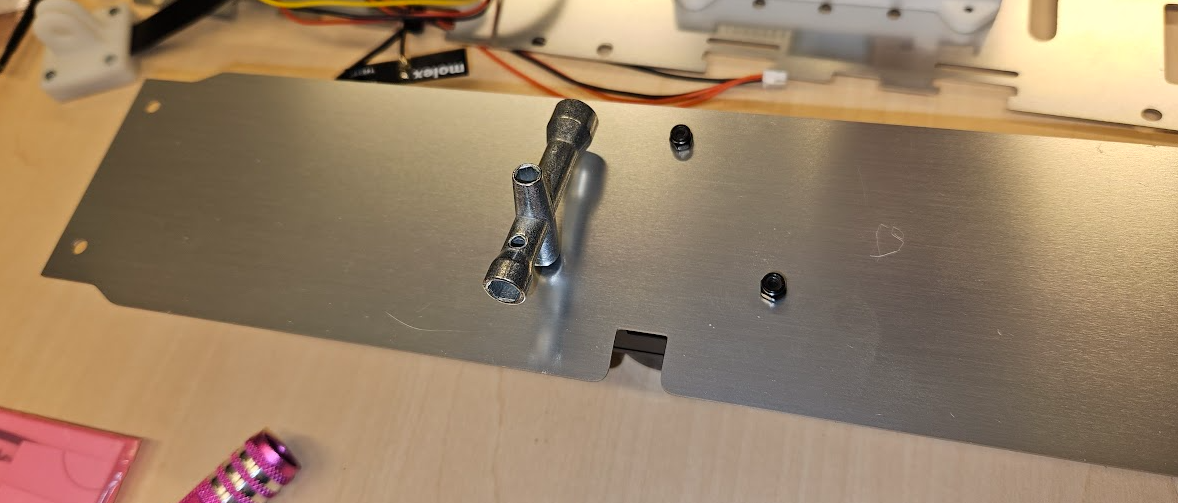
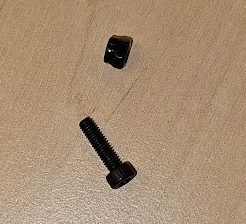
<figure><img src="https://content.gitbook.com/content/Lmcff8coBfsLZYYrJX8h/blobs/ELvIlO1TvfafAM6fvAf6/image.png" alt=""><figcaption><p>Three M2.5 Cap Screws and Nylock nuts are included with the LIDAR</p></figcaption></figure>

<figure><img src="https://content.gitbook.com/content/Lmcff8coBfsLZYYrJX8h/blobs/jKuDMSw4nDnWV5qf5tOF/image.png" alt=""><figcaption><p>Use the included RC-CAR wrench to hold the nuts</p></figcaption></figure>

<figure><img src="https://content.gitbook.com/content/Lmcff8coBfsLZYYrJX8h/blobs/vFBJAHFZXjcxNNMBicdl/image.png" alt=""><figcaption><p>Double check that the lidar is facing the front as shown here.</p></figcaption></figure>

## Standoff for LIDAR arch stability

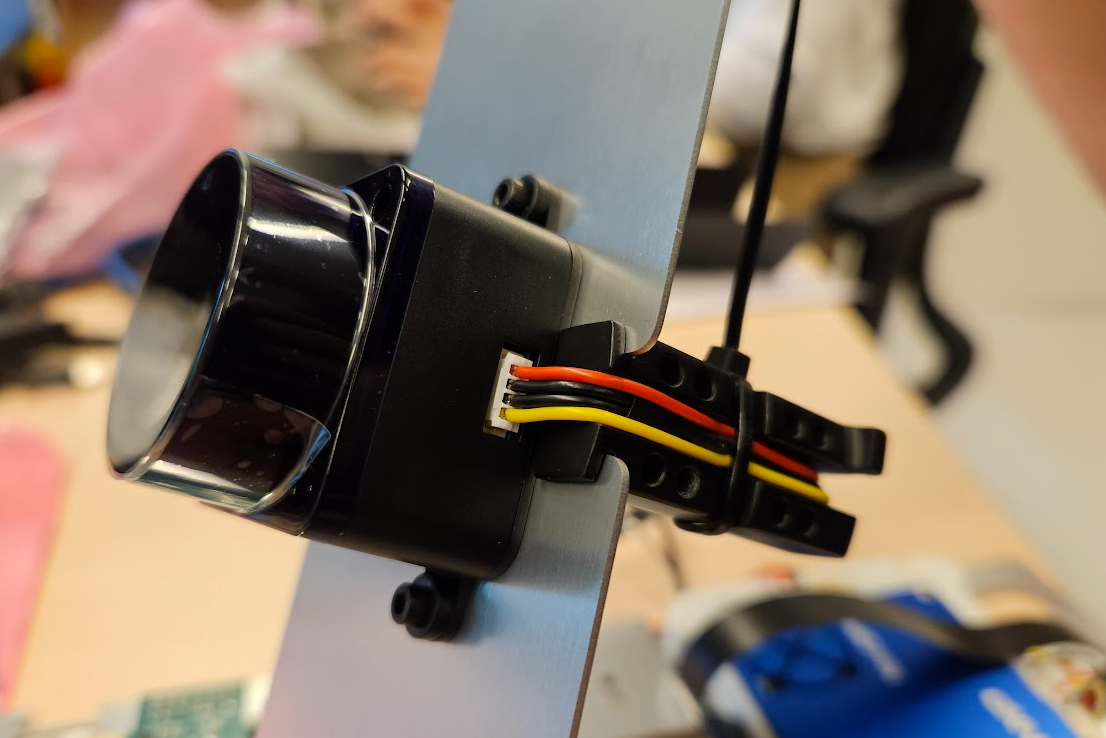
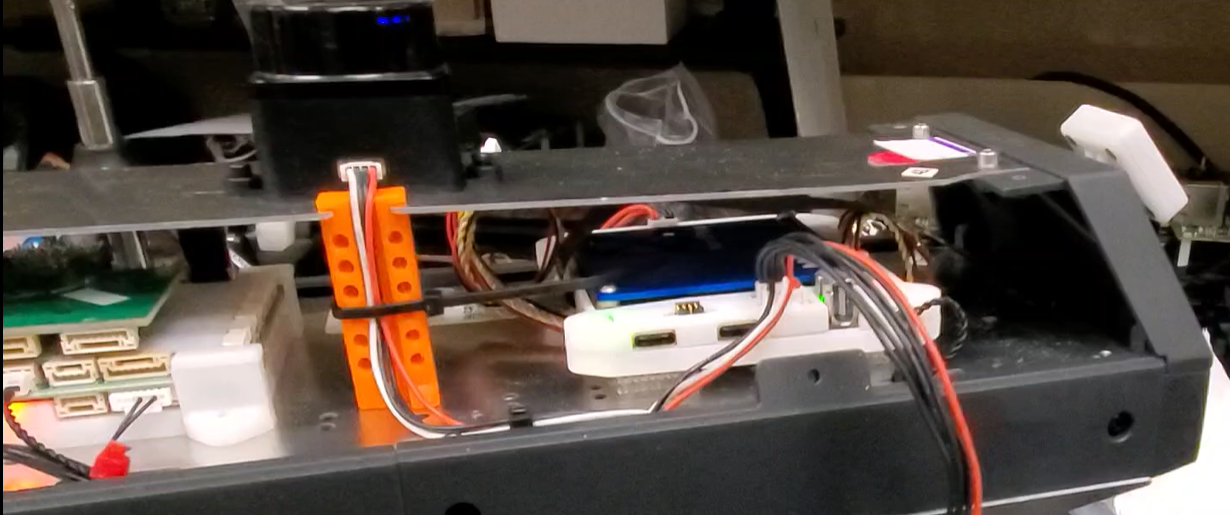
There is a orange or black 3d printed plastic standoff post which also acts to protect the cable. The file will also be provided in [3D Printed parts page](/mr-b3rb/preproduction-nxp-mr-b3rb-buggy3-revb/advanced-user-contributed/3d-printed-parts.md) \
See image below&#x20;

<figure><img src="https://content.gitbook.com/content/Lmcff8coBfsLZYYrJX8h/blobs/zcIBg1TPLjilfQn7UwB4/image.png" alt=""><figcaption><p>ZIptie the lidar cable and standoff as shown in this picture. The wire should wrap around the back of the standoff.<br></p></figcaption></figure>

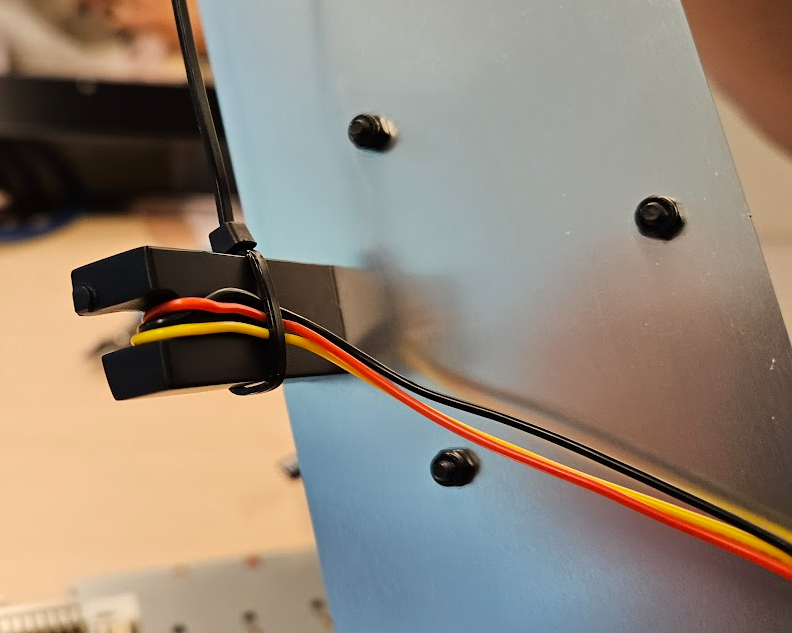
<figure><img src="https://content.gitbook.com/content/Lmcff8coBfsLZYYrJX8h/blobs/WxDc6gP1B2Oy8R3GALpO/image.png" alt=""><figcaption><p>The wires should wrap around to the back of the standoff and ziptie here as well.</p></figcaption></figure>

Do NOT attach the top plate to the B3RB, yet. This can only be done after completation of step 3: wiring.&#x20;

<figure><img src="https://content.gitbook.com/content/Lmcff8coBfsLZYYrJX8h/blobs/kDye1IU4IsgZXkKt5ayJ/image.png" alt=""><figcaption><p>Updated 3D printed LIDAR stand</p></figcaption></figure>

{% hint style="success" %}
The holes in the lidar standoff can be used to store some of the thumbscrews when not in use
{% endhint %}

<figure><img src="https://content.gitbook.com/content/Lmcff8coBfsLZYYrJX8h/blobs/spLrAn1YWFoh1oYtRl7B/image.png" alt=""><figcaption><p><br></p></figcaption></figure>